I often get questions via email or the comments section of both YouTube videos and DependableFlame.com articles asking how to repair a particular petrol lighter that in many cases I have never owned or actually handled and occasionally have never even seen. There are precious few variables at play in our endeavors to elicit flame from these fabulous little machines and a firm grasp of the conditions required to produce fire in the first place will give vintage lighter mechanics a leg up on troubleshooting and repairing any petrol lighter you set your mind to.
The Variables Required
There is a chemical reaction that takes place when all the elements necessary for fire meet in sufficient(or just the right) amounts to ignite, feed and stoke said flame. The absence of any one of these elements is enough for your efforts to prove futile.
Let me start by saying I am not an engineer or scientist of any kind. I may confuse terms here and there or describe things otherwise from terminology or nomenclature you have read in textbooks. But despite my limitations, I have brought hundreds of old petrol lighters back to life following the simple premise of spark, fuel and oxygen because it really is that easy. Well, maybe not always but more on that later.
A Google search of this subject will enlighten to claims there is a fourth element that is just as necessary as the spark(heat), fuel and oxygen which make up what is known as the “fire triangle”. That element is the chemical reaction caused when the other three meet in sufficient quantity to cause fire. I think it is better to understand the chemical reaction as separate from the other three however, in that those three; spark, fuel and oxygen will cause fire, the only variables being the amount of each or lack of which either bring about or retard ignition.
Spark
The fire triangle lists this element as heat but for our purposes relevant to petrol lighter function we will simply refer to it as the spark. We are not talking about catalytic, piezoelectric or any other source of heat other than grinding a ferrocerium flint.
All flints are not created equal and the spark produced may vary from one brand to the next. In my experience, the Dunhill Blue flints are a superior product to any other flint I’ve ever used. The old Ronson Redskin flints may be the worst. Most others though will usually work just fine assuming the lighter does not have inherent deficiencies in its design or function.
Some lighters light like a champ with simply the hint of a spark where others may require a more substantial “shower” to rain down on the ignition area.
In addition, there are other variables that may come into play like the position the lighter is held in as it is struck, the lighter suffering from vapor lock, filthiness of the wick, etc.
Fuel
You can set a piece of paper on fire and it’ll probably burn until it is consumed but wicks don’t burn the same way. Obviously, fuel is a necessary component for any lighter to function properly. But fuel can sometimes cause problems of its own including vapor lock which I mentioned above. I suppose that is where the intricacies of the “chemical reaction” come into play.
Vapor lock is caused by over-filling the lighter with fluid which has a tendency to choke out the necessary oxygen or flood the ignition area with too much fuel vapor. Leaving the lighter open or burning for a bit and allowing the vapor to disperse will typically cure vapor lock in a matter of minutes.
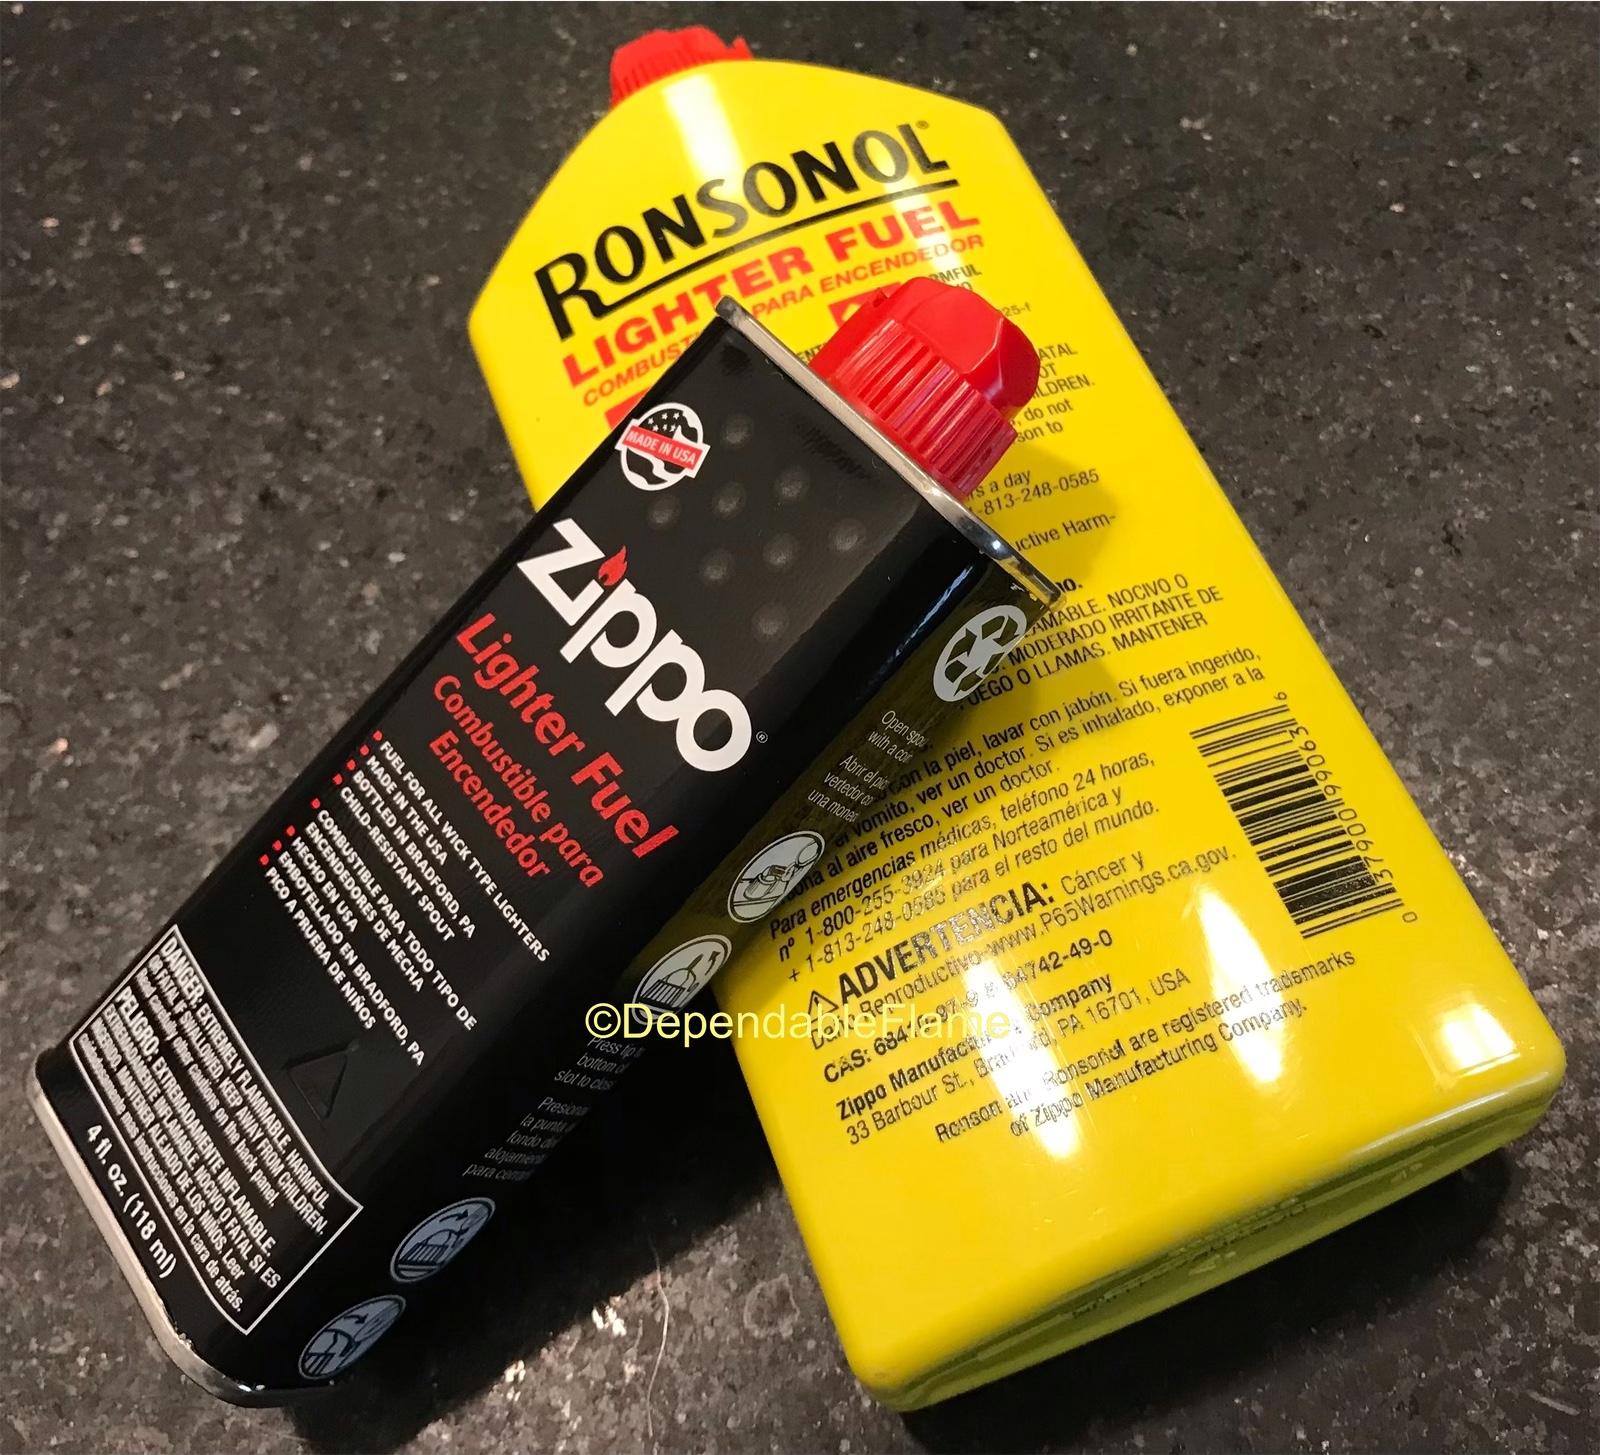
I have only ever used Zippo or Ronsonol petrol lighter fluid. There may be other suitable fuels on the market but they are not readily available to me in the States.
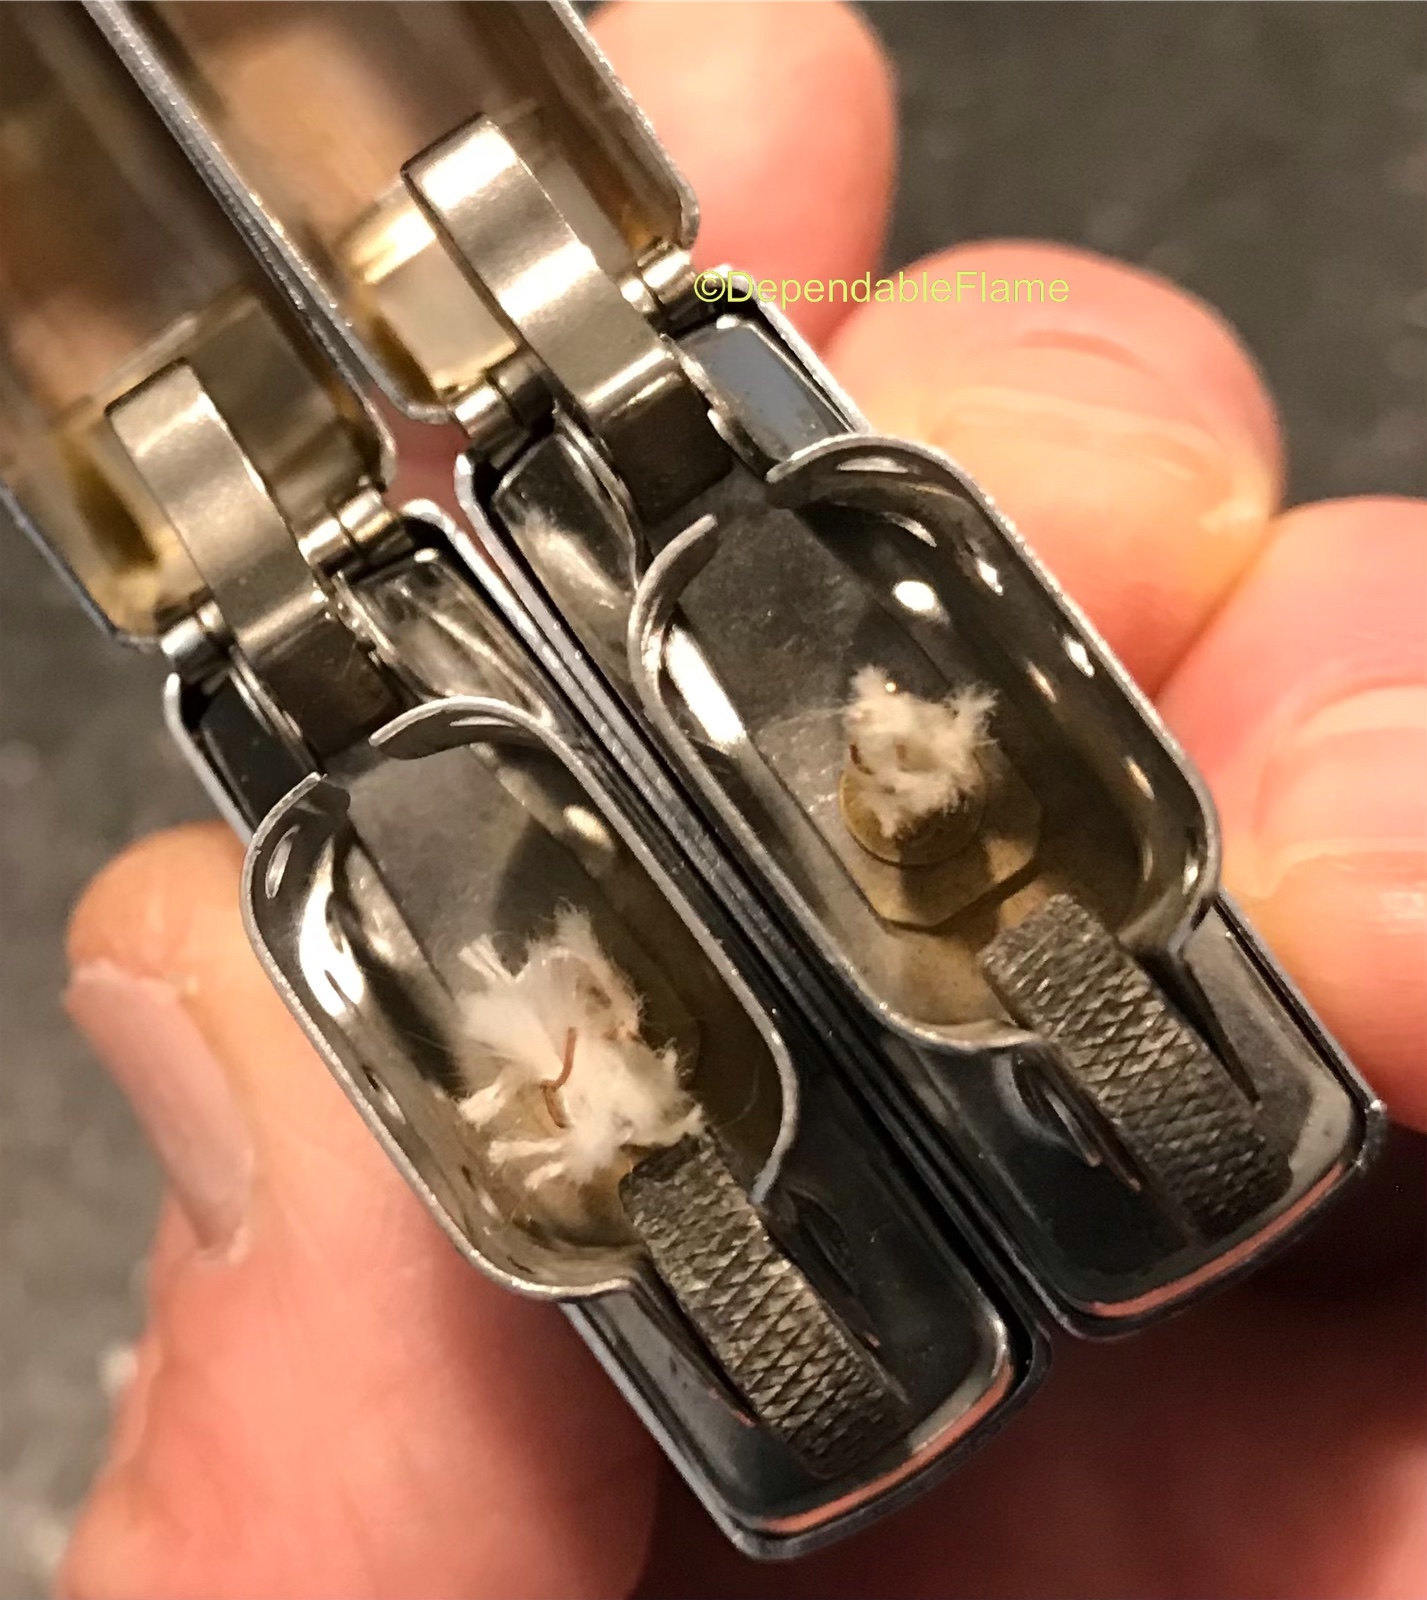
I also think it is very important to manicure your wick to give you the best chance for ignition. I like to call this “blooming out” the top of the wick. The more surface area available to be surrounded by fuel vapor gives a higher percentage chance of some amount of the spark produced landing or catching the wick(eh, sounds like we are talking about that chemical reaction again!)
Oxygen
I think many folks may be ignorant of the essential role oxygen plays in the ability to create fire. On the surface, spark(or heat) and fuel may seem to be all that is needed but as we discussed above with vapor lock, oxygen can have a profound impact on the ability or lack thereof for a

lighter to produce flame.
Some lighter’s windscreens are a major impediment to the proper mix of fuel and oxygen that must meet the spark. Other lighters like the Penguin Cygnus seem to be designed in such a way to make them virtually impervious to the common malady of vapor lock.
It is also possible for a lighter to ignite but not burn properly because it is partially starved of oxygen, so the flame may flicker or die quickly. Vapor lock and oxygen starvation are extreme sides of the same coin.
If you doubt the importance of oxygen to the entire enterprise of creating fire then consider how lighter snuffers are typical designed to work. They do not snuff out the flame by knocking down or smothering the wick so much as cutting off the supply of oxygen.
Ignition!
If you have a solid grasp of these three elements, you have a very good chance to get any old petrol lighter back up and running. There are variables that can affect the ability of any lighter to ignite and burn properly but the principles laid out in this article give you more than a head start at troubleshooting and figuring your way through making any petrol lighter work.
I’m certain a physicist, engineer or some other kind of scientist could explain this all better than I can. I’m not any of those things though, so I have chosen to explain the principles in elementary terms the best I can, understanding them from many, many, many hours of experience, trial and error.
Please leave any comments or questions at the bottom of this page, especially if you are some kind of scientist who can clarify where my language has been too vague or confusing. Or perhaps you are one of the multitudes of fellow shade tree lighter mechanics and would like to expound or correct my assumptions, I would be glad to hear from you.
Please check out our YouTube channel and tell all your friends about the satisfaction and camaraderie that comes along with coaxing fire out of these old, dilapidated machines!
Until next time…✌️
A heartfelt thank you is in order for this really helpful and informative article about the repair of vintage fuel lighters. Due to the fact that my lighter is broken, this article is of the utmost importance. I was able to solve the problem because of your article. Moreover, the videos that you have added to this post are really helpful. Keep publishing like this. I most certainly will share this.
Thank you Pasindu for reading it and I am thrilled that you were able to use it to figure out the problems with your own petrol lighter! There is a contented satisfaction associated with completing such a project and that’s something I would like to spread far and wide. Make certain to check out our YouTube channel and tell your friends about all the helpful instructional vintage lighter repair demonstration videos that are available there. I hope you will keep your eyes on this site as there are many more articles and videos on there way!✌️
I must say I am impressed by your dedication to helping your audience with repairing their petrol lighters. Your willingness to assist and share your knowledge, even for those lighters that you have not owned or handled before, is truly admirable. Your article provides a clear and concise explanation of the necessary conditions required to produce fire in these machines, which will undoubtedly be of great help to vintage lighter mechanics. Your passion and expertise in this area are evident, and I appreciate the time and effort you have taken to share your valuable insights with your readers. Thank you for being such a reliable source of information and inspiration for petrol lighter enthusiasts!
Thank you for checking it out Anoth, I really appreciate it. When I began in this hobby almost six yrs ago, there was a dearth of information available to guide someone in how to repair most of these old lighters. There’s info out there on the web but you had to know where to look and what you were looking for. I have endeavored to bring much of that info to a more readily accessible light while at the same time developing a method or two of my own that make some of these processes a little easier.✌️
I found your article on universal principles for repairing any vintage petrol lighter to be incredibly informative and helpful. The step-by-step guide is easy to follow and provides useful tips for anyone looking to repair their old lighters.
I know working with gasoline and lighter fluid can be dangerous if proper precautions are not taken. What steps can be taken to avoid any accidents?
Overall, I would highly recommend this article to anyone looking to repair their vintage lighters. It is a valuable resource for both beginners and experienced collectors, and the steps outlined here, especially in the videos can be applied to a variety of different models and brands of lighters.
Thank you Femi, I really appreciate you reading it! I always have a fire extinguisher on hand but to be honest, have never needed or used it. But better safe than sorry, right? Petrol lighter fluid is really not that volatile but it is always best to put safety first. I appreciate you stopping by my friend and also for checking out the videos.✌️
What an informative article. I can tell you are a very conscientious and careful person when dealing with vintage petrol lighters. I’m sure anything vintage could pose a high threat of danger when fire is involved but you have very systematically explained how to repair such an item. The information on all the elements involved is very clear and concise.
In addition to the written instructions, the videos add an extra explanation for those who are visual learners.
Thank you for such a precise explanation of how to repair a vintage petrol lighter.
Nina
Thank you Nina, I really appreciate your input. Yes, making fire can be dangerous but most of these little machines were designed not only to create fire but also to snuff it out! All kidding aside, a safe work environment is required and maintained here at DependableFlame.com.
The content is well-written and informative, providing readers with a helpful guide on repairing vintage petrol lighters. The author’s experience in repairing hundreds of petrol lighters is evident and provides credibility to their advice.
The article effectively breaks down the essential components required for a petrol lighter to function (spark, fuel, and oxygen) and describes how each element can be a variable that affects ignition. The author also provides additional tips on factors that can affect ignition, such as the quality of the flint and the position the lighter is held in.
Overall, the article is well-organized and easy to follow, making it a useful resource for anyone looking to repair their vintage petrol lighter.
Thanks
Thank you Samantha, I appreciate you stopping by, reading the article and giving us your insight. It’s pretty basic science creating a flame(spark, fuel and oxygen) but basics are sometimes difficult to grasp. You have restated then perfectly though and I hope you will continue to frequent these discussions and give us your two cents.✌️
Hi Joseph,
This is such a great article that my brother and a few friends would love.
I am going to share this with them and I will encourage them to leave you a comment.
I will let you know what their thoughts are.
Keep up the great work.
All the best,
Tom
Thanks Tom, I really appreciate that! If your brother is a fan of old petrol lighters then I’m sure he can find some intriguing content. Make sure he knows to ask all his vintage lighter repair questions here in the comments section of the website.✌️
Hey there Dependable Flame, it’s great to come across your article on universal principles to help repair any vintage petrol lighter. As someone who loves collecting vintage lighters, I have often faced the challenge of repairing them. Your article was not only informative but also engaging to read.
I found your step-by-step approach to repairing vintage lighters quite helpful. The idea of starting with simple fixes like checking the flint and spring, and moving on to more complex issues like checking the fuel chamber was quite insightful. Your explanation of each step was clear and easy to follow, making it a lot easier for someone like me to repair a vintage lighter on their own.
Moreover, I appreciated your advice on taking caution while repairing a vintage lighter. As you pointed out, vintage lighters are often fragile and need to be handled with care. Your article gave me a sense of confidence that I could repair my vintage lighters while avoiding any further damage. Overall, I would say that your article was a great read for anyone looking to repair a vintage petrol lighter. Keep up the good work!
Thank you for another insightful comment Jennyse, I am glad that you enjoyed the article and we’re able to follow along with the steps taken to repair your own petrol lighter. Caution should certainly be taken as parts are often take or brittle and got done want to damage anything unnecessarily. I have written another article a while back that may be beneficial for you to check out. It focuses on the basic elements and terminology present in all petrol lighters!✌️
Hi Joseph,
This step-by-step guide to assist with the repair of any vintage petrol lighter is quite helpful. We have a few of these vintage petrol lighters around in our home because my husband was a collector. Once they gave up the ghost, he would move on to the next one!
Your details and videos are especially helpful. I learned about vapor lock and blooming out the top of the wick….among other things. Of course, I’ve dragged my husband over to read this article!
Thank you so much!
Ceci
Thank you Ceci, I appreciate you reading and of course for showing it to your husband as well. Vapor lock is a serious problem but there are some tricks to help avoid it.
Blooming the wick out is another trick that can come in very handy to help the ignition of any petrol lighter.
I hope you will continue to read as I will continue to write these kind of instructional repair articles.
Hey thanks for this information and post!
My uncle used to have a petrol lighter a few years ago however since it was a little dodgy back then I am suspecting he must have thrown it out. I am going to ask though hopefully he has still got it somewhere safe.
I think saving this post would definitely prove useful should a similar circumstance arise though petrol lighters do seem to disappear around here!
Have a great day!
Thank you Sariyah, I appreciate you reading the article and spreading the word to your petrol lighter using family! Lighters do have a tendency to disappear but my experience says reusable, refillable lighters done seem to walk away as often as the disposable variety. Another reason refillable is better than disposable.✌️